People loved the chili this weekend
despite of or because of the beans?
For those who couldn’t wait, this chili recipe went out to paid subscribers last week and they got to work. While I offered both the LONG (hunks of beef, beans cooked from dried) and SHORT (ground beef or turkey, canned beans) way, I am so pleased to report I’d estimate 90% of people opted for the long way. Call it working from home or call it the weekend, I’m thrilled to see it.
The most common toppings I saw included shredded cheddar, sour cream (not for me), scallion, Frito’s (a lot of Frito’s mentions this week), and…checks notes….mustard? Is that something?
Today you can watch the video which will hopefully clear up any lingering questions (namely: “is my pot too full?” no, I don’t think so. A full pot with a gentle simmer is nothing to be afraid of).
There’s also a recipe for cornbread, which I’ve already received both hate mail and gushing praise for (there’s mayonnaise in the batter, sue me). If the idea horrifies you, keep it moving! I think it’s perfect.
The Video
For the full recipe, read on.
Director: Doron Max Hagay @doronmaxhagay / Producer: Graham Mason @grahambomason / Photography Director: Alex Bliss @albertblimp / Audio: Yves Albaret @yvesarmand / Camera Operator: Daniel Rampulla @danielrampulla / Camera Operator: Johnny Frohman @johnnyfrohman / Graphics: Gordon Landenberger @gordonlandenberger / Editor: Cooper Conley-Currier

Gorgeous Chili (the Long Way)
Serves 6–8
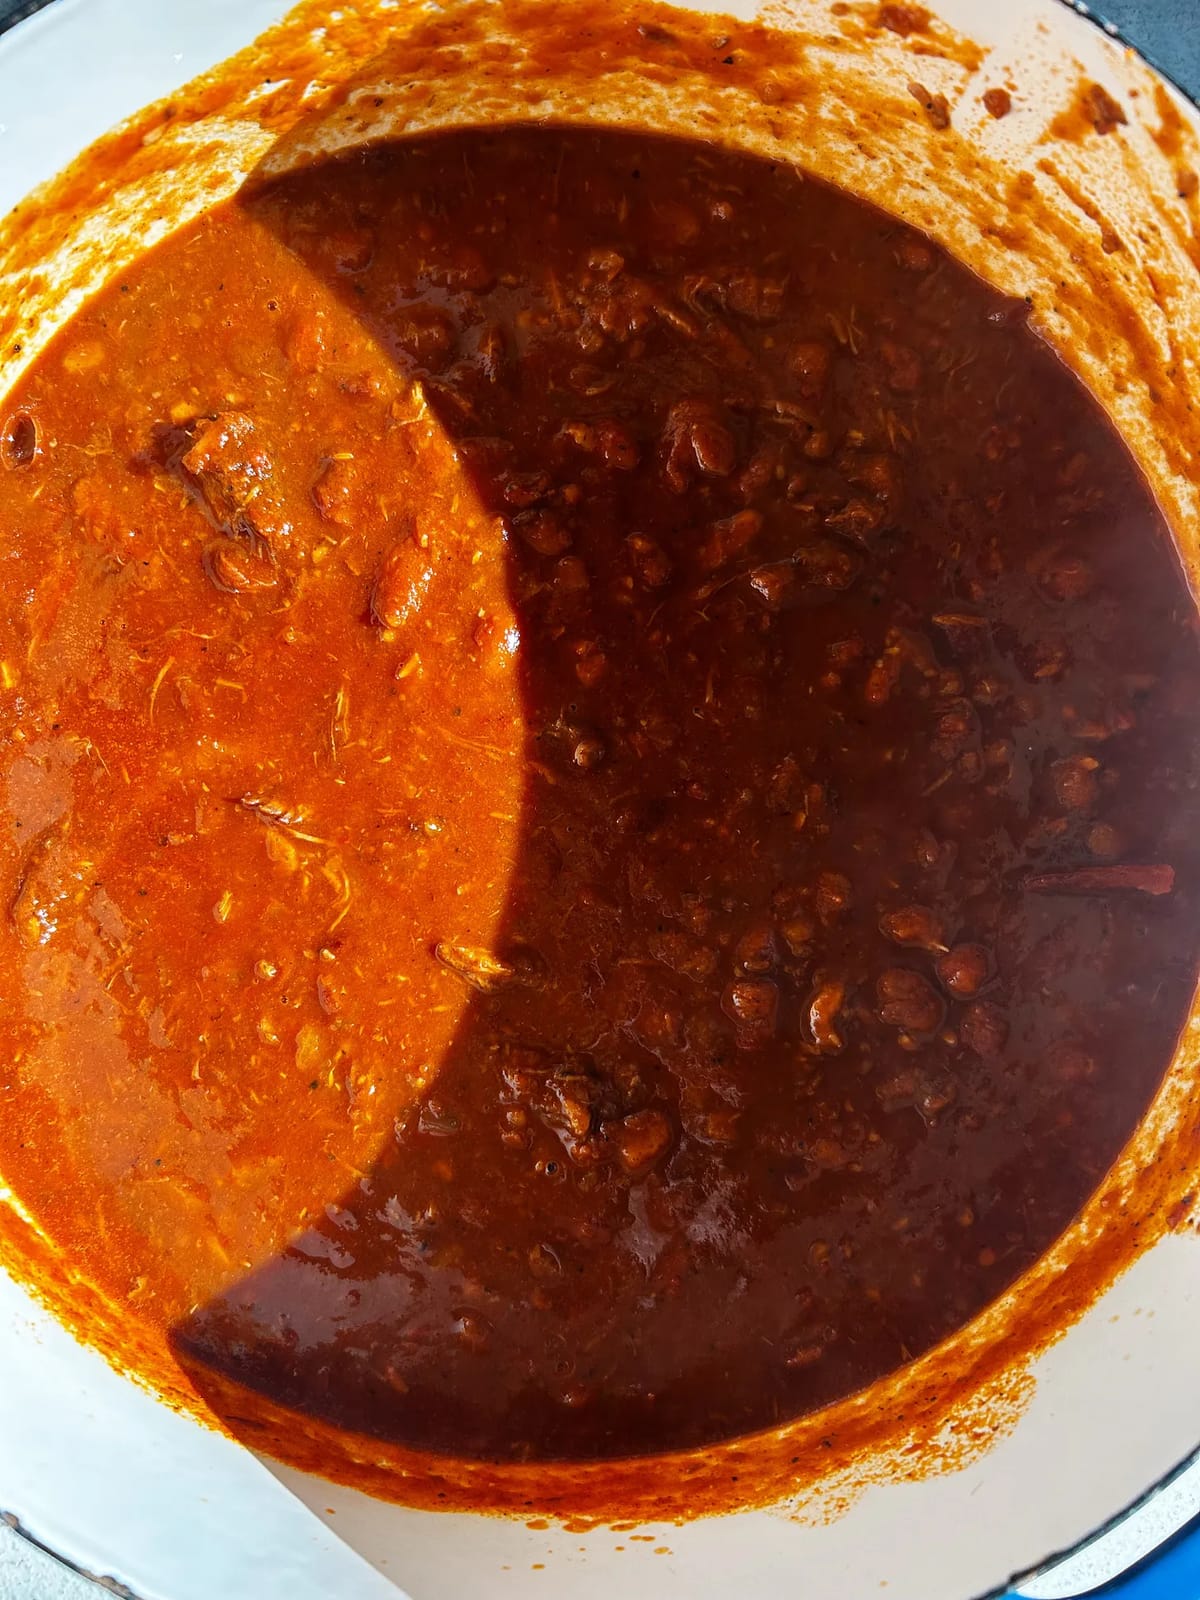
Chili means many different things depending on where you are. At its most basic, you can expect meat cooked until tender, nearly falling apart, in some sort of spiced, likely tomato-y sauce. This version is heavy on the tomato, is well spiced but will not necessarily light your mouth on fire, uses hunks of meat (chuck, sirloin, brisket, etc) to slow braise and beans cooked from dried (yes– there are beans in this recipe) to soak up all that beefy, spiced, tomato-y liquid. As advertised, it takes a long time to cook (should simmer at least three hours). Is it worth it? I really think it is. The way the liquid thickens from the long braise of the beef and starches released from the beans, not to mention how much better the beans taste when cooked from dried, it really is gorgeous. Great if you have the time, patience or a real fondness for things you can “make ahead.” That said, there is always “the short way,” a recipe you can find on my site or linked below.
Ingredients
- 3–4 pounds chuck roast, sirloin or brisket, cut into 1 ½ - 2” pieces
- Kosher salt, freshly ground black pepper
- 2 tablespoons neutral or olive oil
- 2 medium yellow onions (about 1 pound), finely chopped
- 8–10 cloves garlic, finely chopped or thinly sliced
- ¾ cup tomato paste (from one 6 oz. can)
- 1 ½ tablespoons cumin seed or 2 teaspoons ground cumin
- 2 teaspoons smoked or sweet paprika
- 1 ½ teaspoons hot paprika (or smoked or sweet, plus more crushed red pepper flakes)
- 1 ½ teaspoons crushed red pepper flakes, plus more
- 2 12-ounce cans beer (something light, like a lager)*
- 1 28-ounce can crushed tomatoes (or whole tomatoes, well crushed)
- 1 pound dried beans (a white bean, black bean or pinto bean are all good choices- can also use a mix)
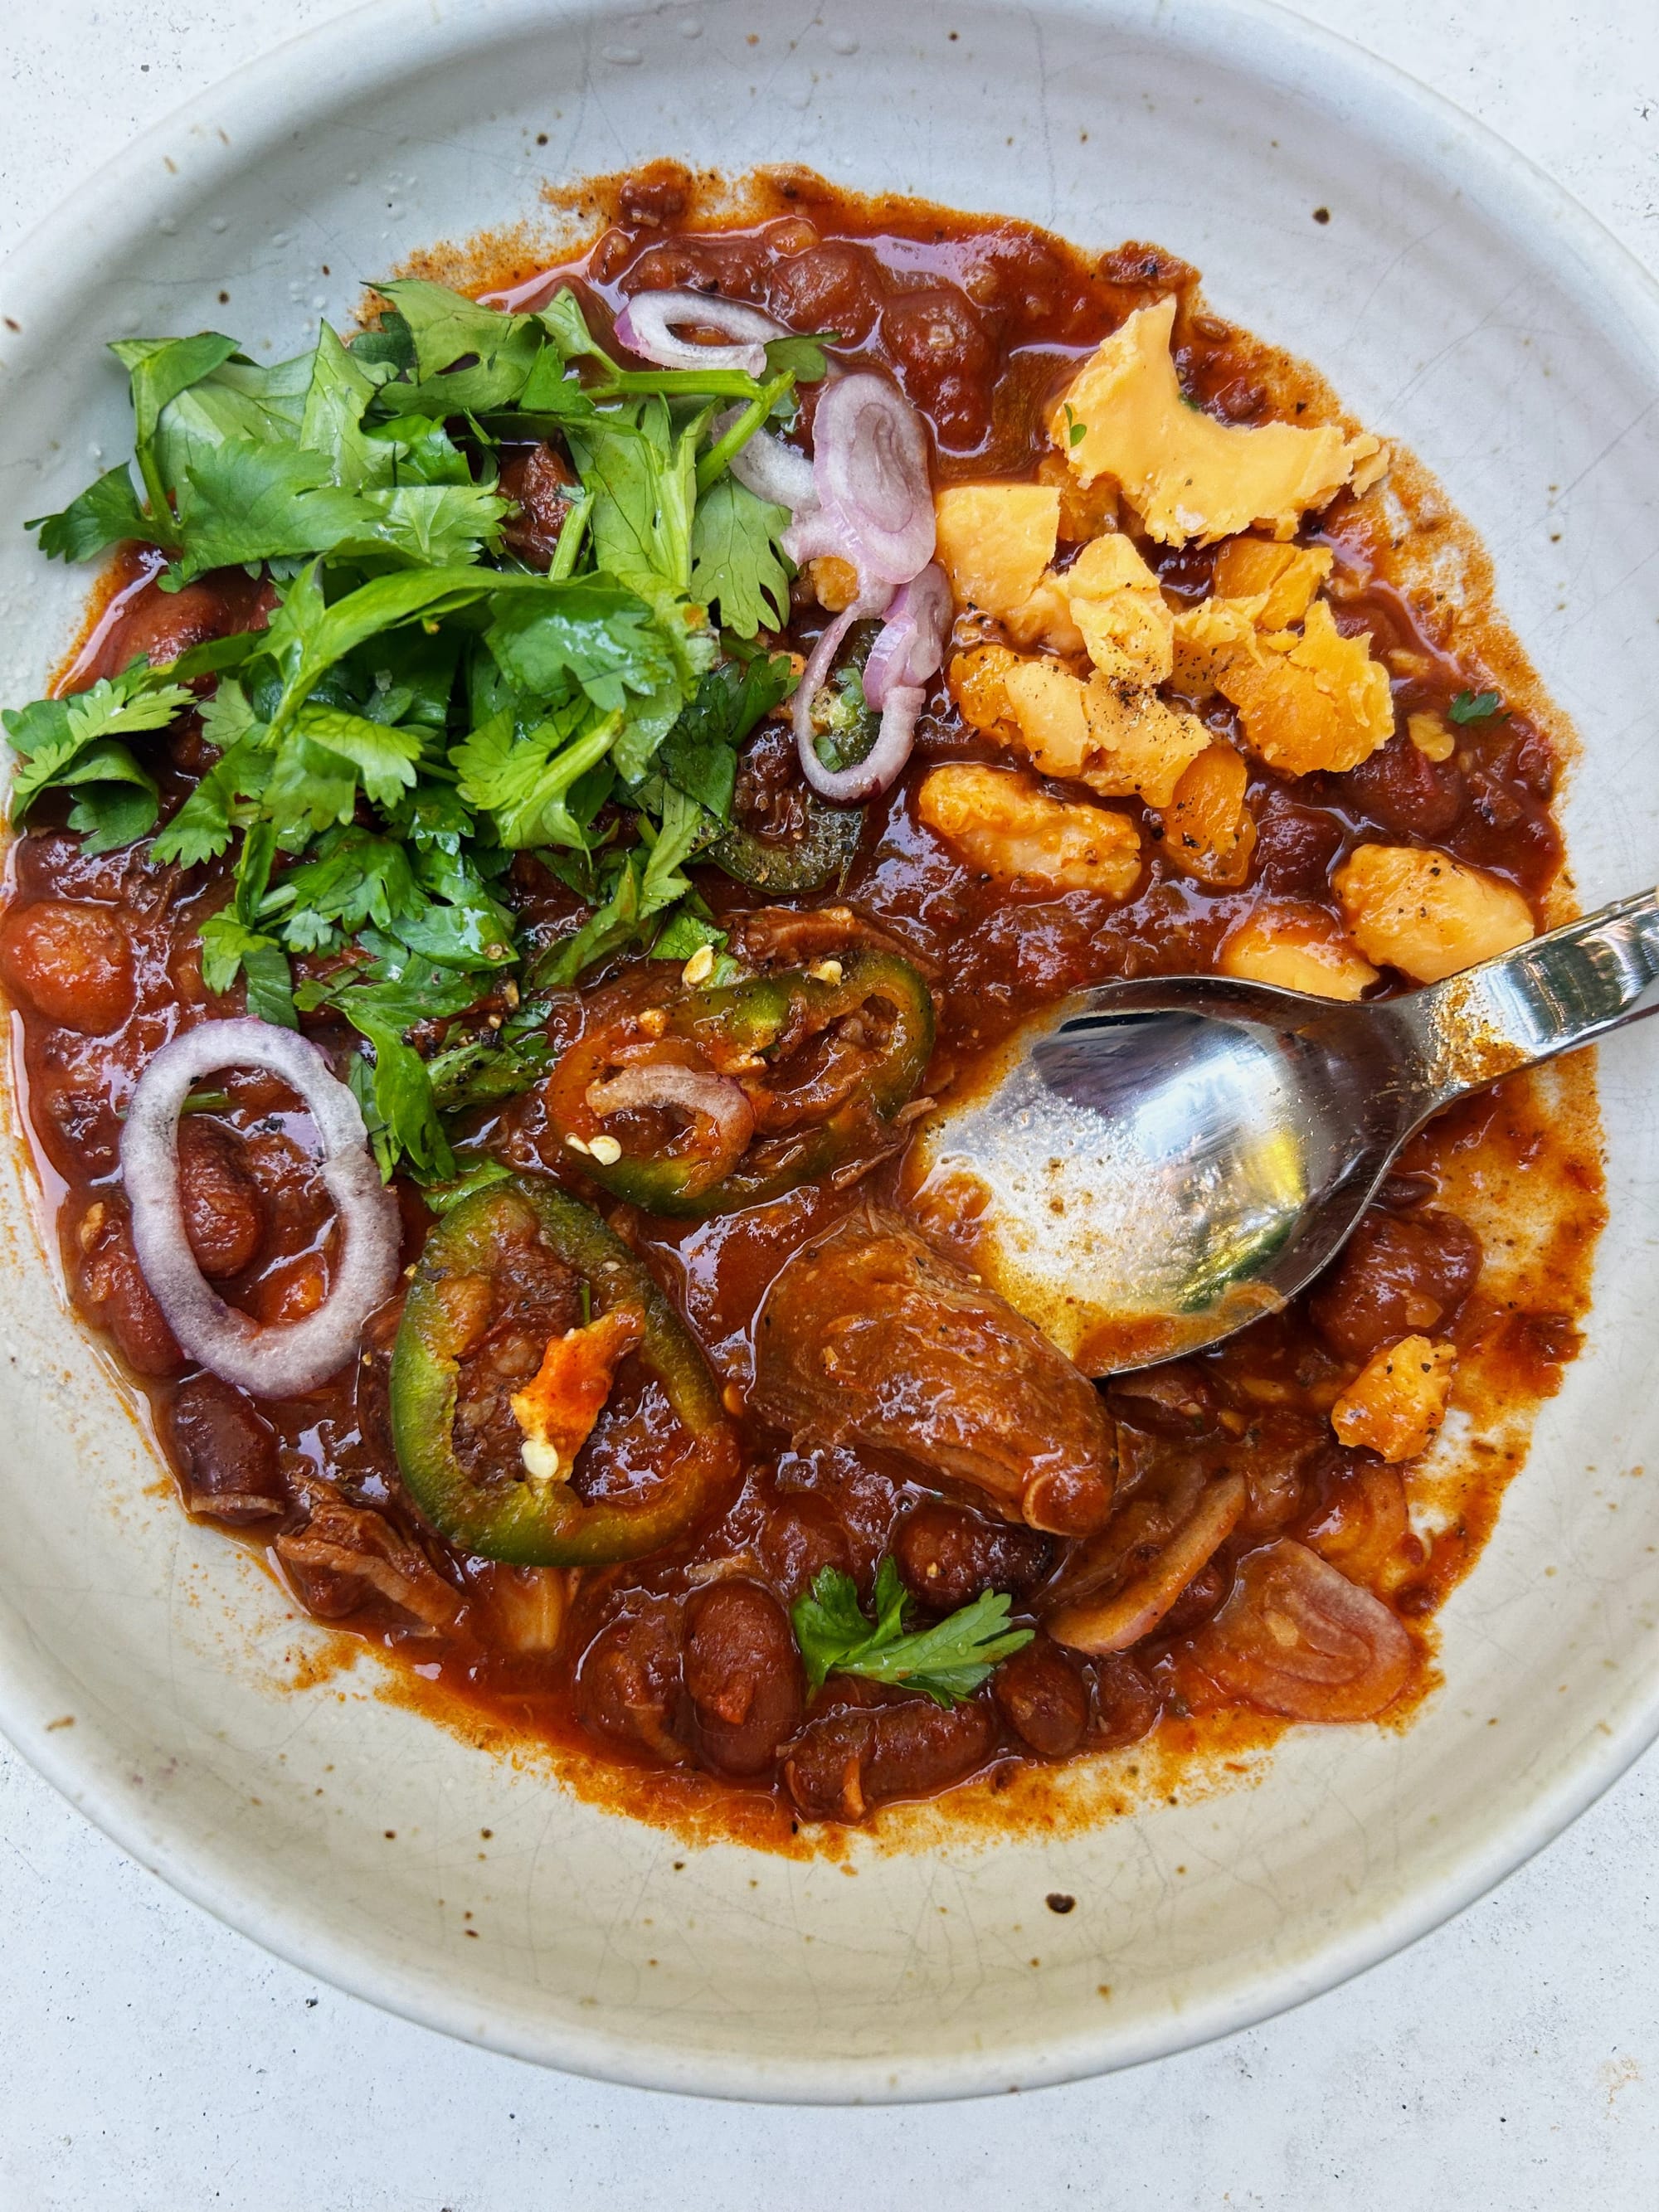
- Toppings, you must (thinly sliced scallion, fresh or pickled red onion, shredded cheddar cheese, full-fat sour cream, chopped cilantro, thinly sliced fresh or pickled jalapeños, crumbled Fritos, lime wedges, etc).
*If not using beer, use water
Preparation
1. Season the beef with salt and pepper (you can do this as far as 24 hours in advance, if you want). Heat oil in a large, heavy-bottomed pot over medium-high heat. Add the beef in one layer (don’t worry too much about crowding the pan), and cook until deeply browned on all sides, turning the pieces as they brown, 15-18 minutes total. Transfer the beef to a large plate or bowl, leaving the fat behind; set aside (I do not drain the fat here, but you can).
2. Add onions and garlic to the pot, season with salt and pepper, and cook, stirring occasionally until they’re softened and translucent, 3–5 minutes. Add tomato paste and cook until it turns brick red, caramelizing a bit on the bottom of the pot, 2–3 minutes. Add cumin, paprika and chili flake and cook, stirring constantly for a minute or so to toast and bloom the spices.
3. Add beer, using a wooden spoon to scrape up the caramelized bits at the bottom of the pot, followed by crushed tomatoes, beans, 6 cups of water, and the beef plus any juices. Season with salt and pepper and bring to a strong simmer.
4. Reduce the heat to medium-low (everything should be at a gentle simmer) and partially cover the pot about 90% of the way (use a sheet pan if you don’t have a lid). Cook, checking and stirring only occasionally, until the pot has thickened into a beautiful chili and the beef and beans are completely tender, nearly falling apart, 3–3 ½ hours.
5. Remove from heat, and, using a wooden spoon, encourage the hunks of beef to break down into smaller shreddy bits by gently pressing them against the side of the pot–they should fall apart easily with no resistance. Give it a good stir so the meat is evenly distributed and season again once more with salt, pepper and maybe crushed red pepper flakes if you like.
6. To serve, set out all the toppings you want. Use every small bowl and precious tiny plate to display your shredded cheese and bowls of sour cream. Your scallions and pickled things. Do not top anyone’s bowl for them, but encourage them to go wild. There are always more toppings where those came from, you say.
DO AHEAD: Like all great soups and stews, this chili gets better with age. It can be made 5 days ahead, stored in the fridge, or frozen 3 months ahead, stored in the freezer.
For Gorgeous Chili (the Short Way), click here:
Cornbread
Makes one 9-inch cornbread
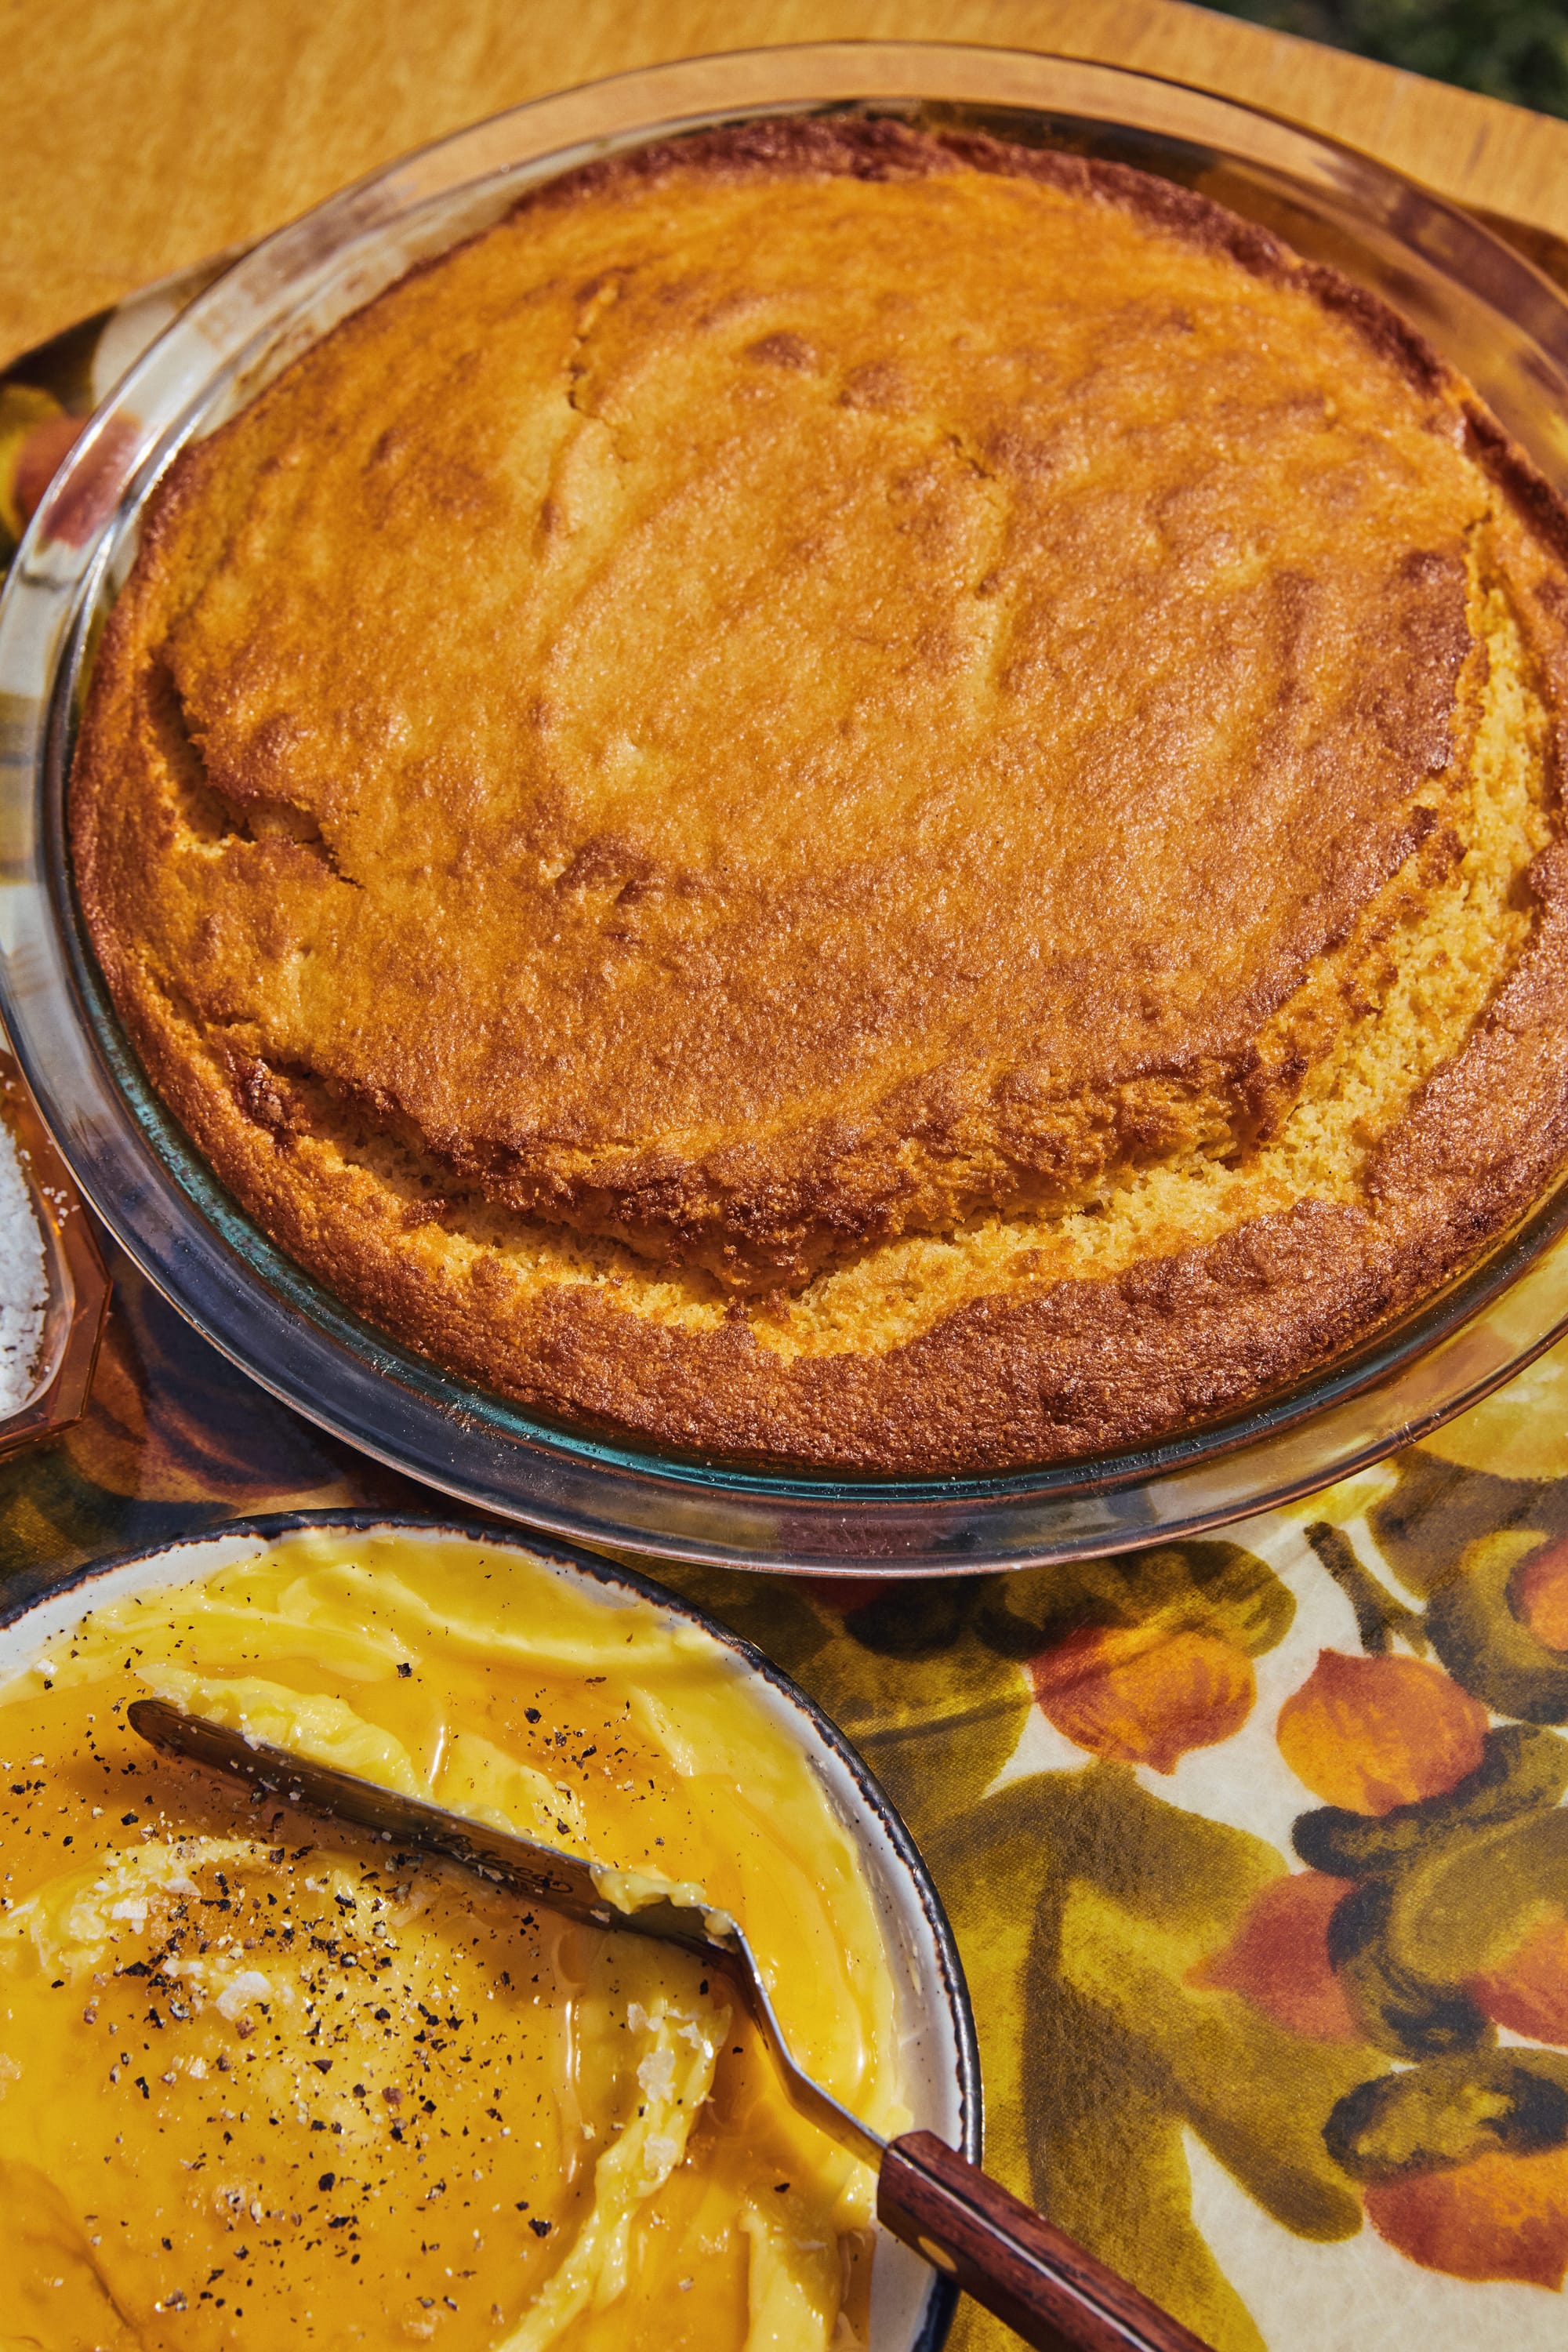
You may have some “thoughts” about this cornbread. First, if you are the sort who believes cornbread should be strictly savory, nary a whisper of sugar, baked in nothing but a pool of bacon grease inside a cast-iron skillet, skip this recipe. This is not going to make you happy. If you believe cornbread, like any other quick-bread-type delicacy, should have just enough sugar to balance out the salt, baked in whatever the hell you have on hand, then I think you’re going to absolutely love it. Second, there is mayonnaise in this cornbread. Please do not let this freak you out—mayonnaise is just oil and eggs (two ingredients typically found in cornbread), so it really isn’t that strange if you think about it. Are you still thinking about it? If you simply can’t fathom the addition, sour cream also works. But please, try to trust me on this one.
Ingredients
- 1 stick/4 ounces/115g unsalted butter, melted, plus more softened butter for serving
- 1 cup/145g all-purpose flour
- 1 cup/130g coarse cornmeal
- ½ cup/90g packed light brown sugar
- 1 tablespoon/12g baking powder
- 1¼ teaspoons/5g kosher salt
- 1 teaspoon coarsely ground black pepper (optional)
- 2 large eggs
- ¾ cup/170g mayonnaise, sour cream, or a mix of both
- ½ cup/120g buttermilk
- Honey, for serving
- Flaky sea salt, for serving
Preparation
- Reheat the oven to 400°F.
2. Spoon a bit (a tablespoon or so) of the melted butter into the bottom of a 9-inch pie plate, cake pan, or cast-iron skillet (any 1-quart/1-liter baking dish). Using a brush or your fingers (I am using my fingers), grease the dish all along the bottom and up the sides.
3. In a medium bowl, whisk together the flour, cornmeal, brown sugar, baking powder, salt, and pepper (if using).
4. In another medium bowl or measuring cup, whisk together the eggs, mayonnaise, and buttermilk.
5. Whisk the wet ingredients into the dry ingredients, but just until combined (a few dry spots/lumps are okay). Add the remaining melted butter to the batter and gently fold until it’s totally incorporated.
6. Pour the batter into the prepared pan, smooth the top, and bake until the edges are deeply browned and crispy and the top is a lovely, sunflower-y golden yellow color (if it cracks, I’m into that), 20–25 minutes.
7. Remove from oven and let cool a few minutes before slicing into. While you wait, if you like, mix some softened butter with a good amount of honey and a healthy pinch of flaky salt. Mix until shiny, glossy, and spreadable and serve with the cornbread.
DO AHEAD: The cornbread can be baked 2 days ahead, tightly wrapped in plastic, and stored at room temperature. It’ll last up to 5 days in the fridge, but you’ll want to toast in butter or griddle it before serving.
To Shop
- There’s nothing more American than voting (do that ASAP!) but a close second is wearing a Levi’s Iconic Western Denim Shirt and jeans (in “dance around” color) while pouring Bud Light into a pot of chili.
- This recipe fits perfectly in a 5.5 quart Dutch oven. I’ve had this one for a very long time. It accidentally matches my meat cutting board.
- For the spices called for, I love Barrel and Burlap and I’m obviously using Rancho Gordo for the beans. Maybe you’ll be lucky enough to receive a bag in your First Bloom gift box (shipping limited boxes starting every Monday instead of Wednesday now!).
- For the cornbread, I prefer cooking in a 9-inch cast iron skillet like this one but know it can be baked in nearly any oven-safe vessel. Middle Brook Mill is my absolute favorite cornmeal (they ship!) and you know if I’m putting mayonnaise in a recipe it’s going to be Hellmann’s.
- My mixing bowl is a pretty close match to this 1930s vintage one you can buy on Etsy.

Discussion