Fennel Rubbed Sheet Pan Turkey with Cider Vinegar Gravy
This turkey is dry-brined and roasted on a sheet pan, per usual. Don’t let the word fennel scare you—it’s mild (though there is an option to increase the amount here), but gives just enough to make this turkey feel special.

SERVES — 10 to 12
This turkey is dry-brined and roasted on a sheet pan, per usual. No, the juices will not overflow, but yes, you do have to be careful removing the turkey from the oven. If you have a roasting pan, you can use it, but I think it’s tough to beat how brown the skin gets and how evenly roasted the vegetables (leeks, fennel) get when you roast on a sheet pan. Don’t let the word fennel scare you—it’s mild (though there is an option to increase the amount here), but gives just enough to make this turkey feel special. If you really don’t like turkey or are feeding less people and want to use this same rub on two chickens this year, you can.
Instead of cranking the temperature up at the end, this turkey goes for a bit longer at the same low temperature (325°F/162°C) until it’s not just perfectly cooked through, but tender in all the right places and deeply browned all over thanks to the brown sugar in the dry brine and occasional end-of-roast basting.
Ingredients
For the Turkey:
- ⅓ cup kosher salt
- ⅓ cup light brown sugar
- 2 tablespoons coarsely ground black pepper
- 2–4 tablespoons fennel seed, finely chopped or coarsely crushed
- 3–4 cloves garlic, finely grated, plus two heads garlic, halved crosswise
- 1 (12- to 15-pound) turkey, defrosted, neck and giblets removed
- ¼ cup finely chopped sage or thyme, plus 1 bunch thyme, oregano, sage (or a mix)
- 2 large fennel bulbs, quartered
- 2–4 leeks, roots and very dark green parts removed, quartered lengthwise
- 2 large onions, cut into large wedges
- ¼ cup olive oil
- 4 tablespoons unsalted butter
*If you have a love of fennel/are not afraid to try something new, I would go for the full 4 tablespoons.
For the Gravy:
- 6 tablespoons/3 ounces unsalted butter
- ½ cup all-purpose flour or ⅓ cup cornstarch
- 2 ½ cups turkey stock (see recipe), or low-sodium chicken or vegetable broth, plus more
- 2 tablespoons apple cider or sherry vinegar, plus more
- 1 tablespoon low-sodium soy sauce, tamari or Worcestershire sauce, plus more
- Kosher salt and freshly ground black pepper
- 2–2 ½ cups drippings from the turkey
Preparation
- Prepare the turkey: Combine kosher salt, light brown sugar, black pepper, fennel seed, grated garlic and chopped sage in a small bowl; set aside.
- Place the turkey on a rimmed baking sheet lined with a wire rack. (If you don’t have one, place the turkey directly on the baking sheet.) Now’s a good time to make sure the giblets (the bagged heart, kidneys and liver, and the neck) are removed from the cavity. Without patting the turkey dry, spread the turkey with the salt mixture (mixture will be a little wet from the garlic, but smear it on as evenly as possible), making sure to distribute the seasoning evenly to all the bits and parts. Gather any bits that fall away to the bottom and smear back onto the bird. Refrigerate turkey, uncovered, for 8 to 24 hours — the longer, the better.
- Heat oven to 325°F/162°C (no fan).
- Remove turkey from the fridge, and transfer it to another clean rimmed baking sheet (discarding any liquid). Stuff turkey with the quartered onions, half the bunch of herbs and half the garlic. Using kitchen twine, truss the legs if you like (you don’t have to!). Scatter leeks and fennel around turkey, adding in remaining garlic and tucking in a few sprigs of herbs here and there.
- Melt olive oil and butter in a small pot over medium heat, and pour half of the mixture over the turkey and vegetables. Toss vegetables lightly to evenly coat, and season everything with salt and pepper.
- Place turkey on bottom third of your oven and roast, rotating the baking sheet every hour or so, until the turkey has reached 165°F/74°C when a thermometer is inserted in the deepest part of the thigh, 3 ½–4 hours*. The turkey will be cooked through and tender, and the skin should be nicely browned (if you find the skin is browning too quickly, especially on the top at the breast, feel free to place a sheet of foil over the top, but I think the browner the better.)
*What about basting? I like to baste turkeys and chickens for the last bit of cooking (for turkey, it’s the last hour). This doesn’t do much for “juiciness,” but more for the skin to get evenly browned and redistribute the seasoning that inevitably drips off.
- Remove turkey from the oven and let rest on the baking sheet for at least 10–15 minutes, up to 60 minutes**). Tip the turkey, cavity-side down, making sure the aromatics stay inside the cavity and letting any juices run out onto the rimmed baking sheet (use to finish your gravy.)
**What if my turkey isn’t hot? Turkey doesn’t really need to be hot — but it also stays hot (sans carving) for about an hour after it comes out of the oven.
- Transfer the roasted leeks, fennel and garlic to another dish and set aside (quickly rewarm in the oven if needed before serving). Transfer the turkey to a cutting board and let it continue to rest while you finish the gravy.
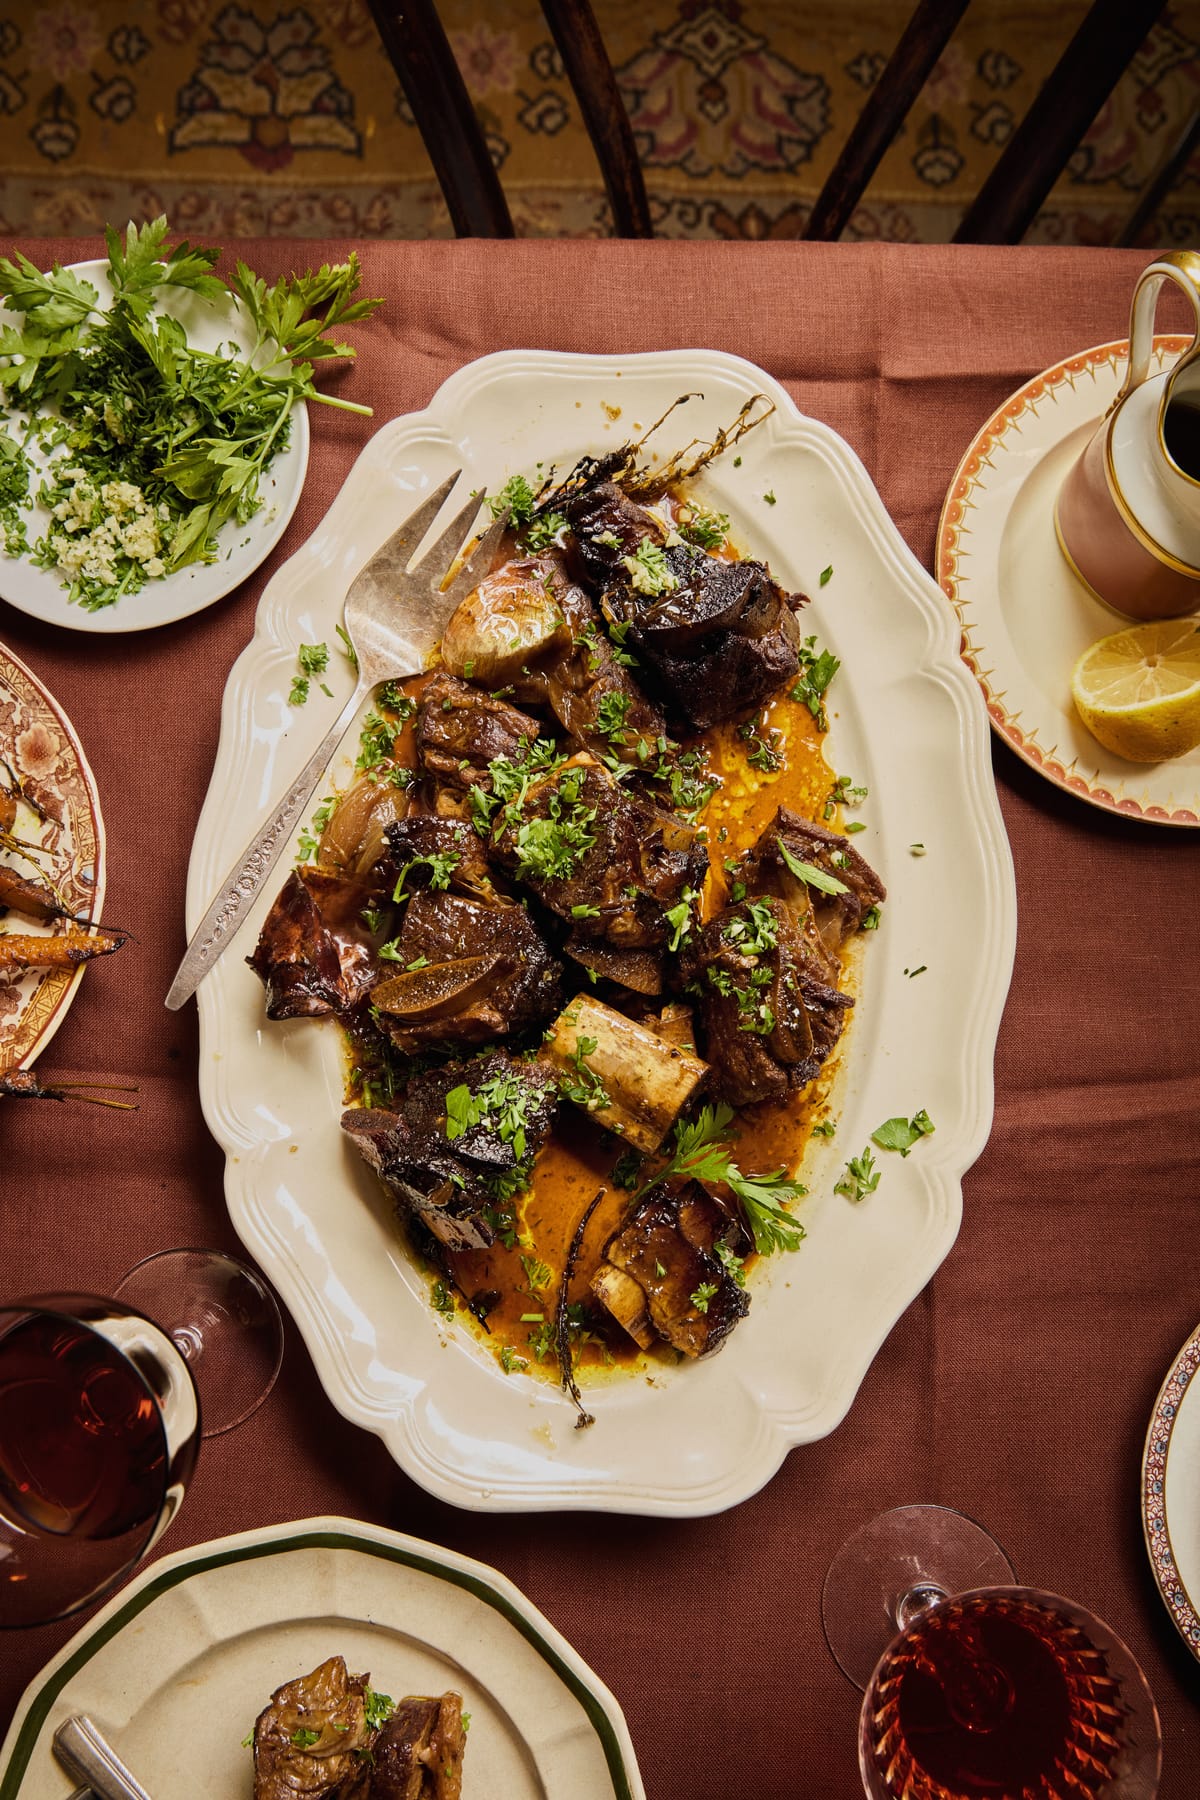
- To serve, carve the turkey and arrange on a large platter (or two of your largest plates) with the leeks, fennel and garlic. Arrange fennel fronds and parsley on top if you like to keep it leafy, spriggy and coarse. Serve with gravy alongside.
For the Cider Vinegar Gravy:
- Melt butter in a medium pot over medium heat. Add flour and cook, whisking constantly, until flour is sizzling furiously and well toasted, about the color of a nice milky coffee, 4–6 minutes.
- Slowly whisk in the stock, about ½ cup at a time, letting it bubble, thicken and incorporate completely between additions until all of it has been added (do this slowly to prevent lumpy gravy). Add cider vinegar and soy sauce and season to taste (you’ll get an opportunity to season again once turkey drippings are added, but it should taste pretty good right now). This is your make-ahead portion of gravy. This can be done and chilled 3 days ahead. To proceed with the finished gravy, keep reading.
- When you’re ready to add the turkey drippings and serve (whether you’re reheating or just making the gravy to serve now): Transfer gravy to a medium pot if it’s not already in a pot (do not be alarmed if you made your gravy ahead and remove it from the fridge and discover a cement block inside a container. This is expected!)
- Add your reserved turkey drippings and gently reheat over medium heat. Simmer until gravy is at your desired viscosity and the flavors have all melded together, 5–8 minutes (if it’s feeling a little thick, add more turkey stock). Add more soy sauce if you feel like it needs more depth of flavor, vinegar if you want more acidity, and salt and pepper for seasoning. Remove from heat and set aside until ready to serve in your finest gravy boats, bowls or Pyrex measuring cups.
DO AHEAD: The turkey can be seasoned (dry-brined) 48 hours ahead, stored uncovered and refrigerated. The gravy can be made (sans turkey drippings) 3 days ahead, stored sealed and refrigerated.
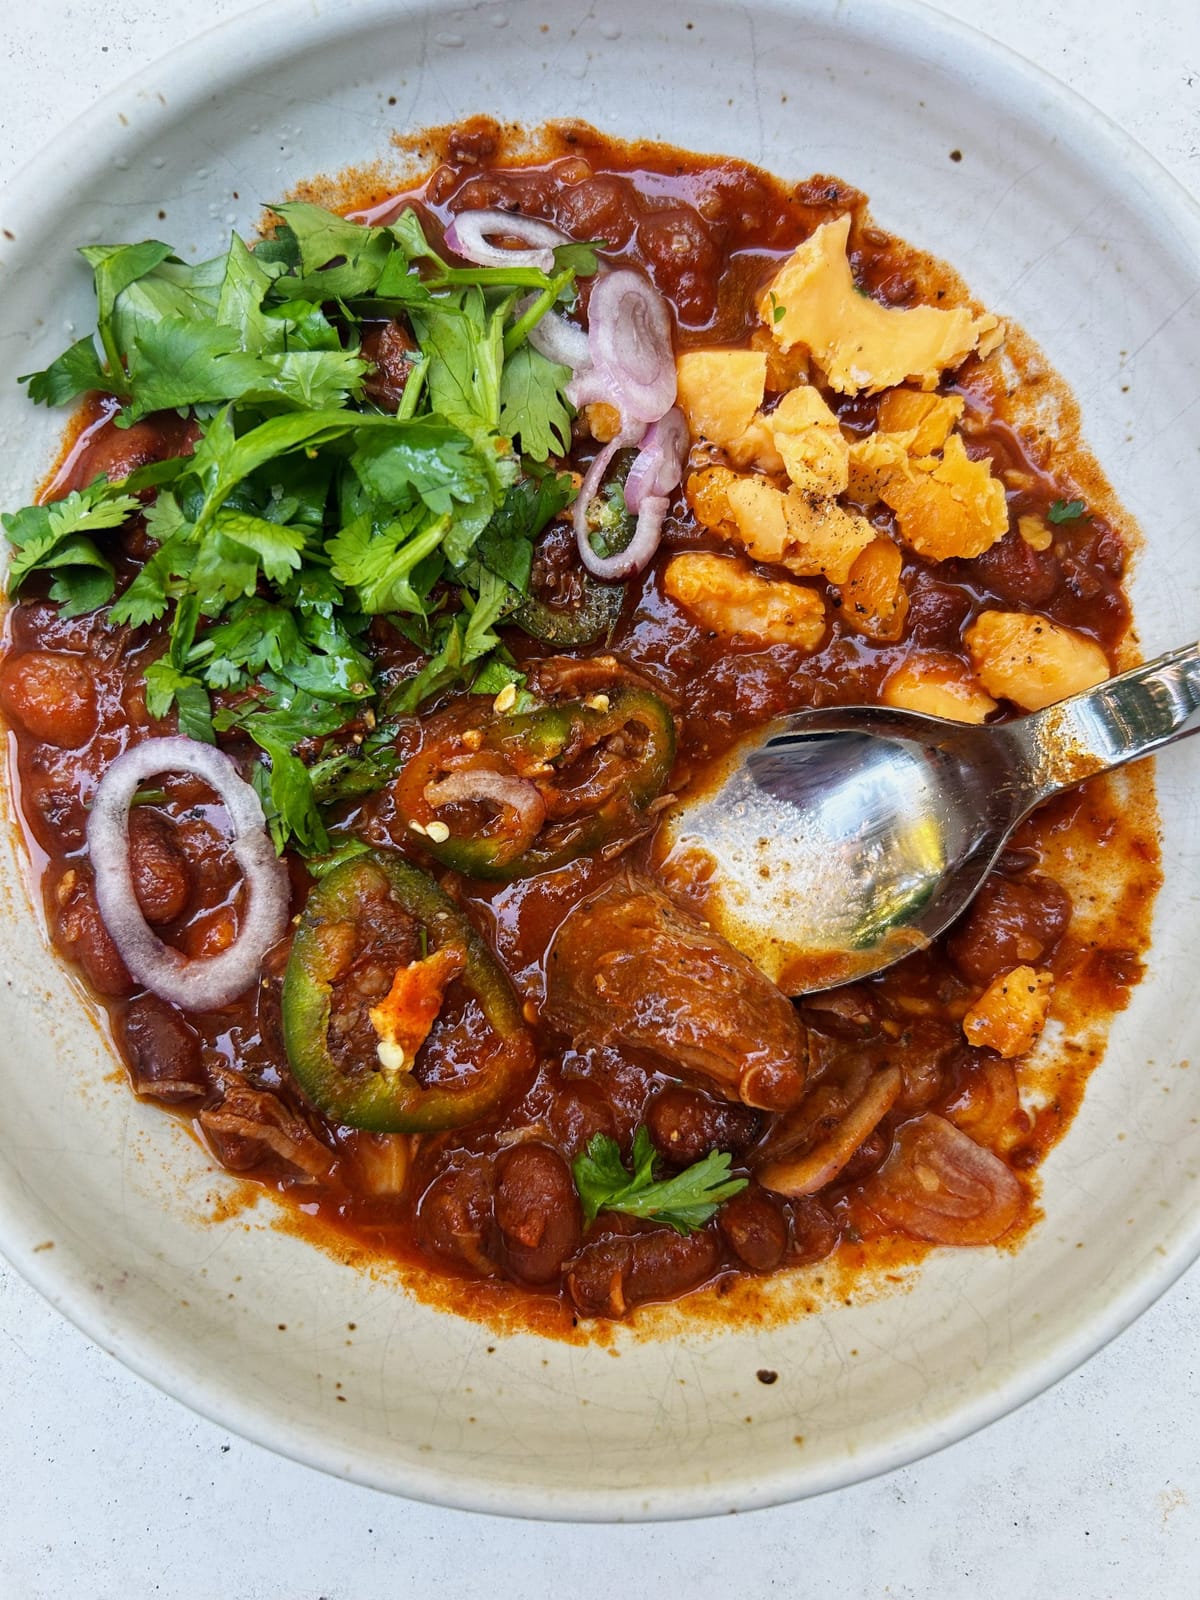
LEFTOVERS: I don’t need to tell you turkey is best eaten cold the next day, slice by slice out of the bag you’ve stored it in any time you need a snack. Other ideas include: adding to soup, making chili or pozole, crisping in a skillet for little tacos, putting in a pot pie. Sandwiches, I guess!


Discussion